
Intro
As a family of 3 very outdoor-minded people looking for our own place to live we decided to go with a tiny house. My wife’s parents live in Stowe Vermont and have a beautiful property surrounded by forest where we could find a perfect spot for it.
I’ve been working in construction for years together with my dad as a team of 2 building houses from scratch to finish. So I was excited to take on this project and build something all by myself this time.

The Mus family
The Foundation
I started researching the foundation options and permitting wise it was clear very quickly we had to go with a trailer so the tiny house is movable and not regulated as a permanent structure.
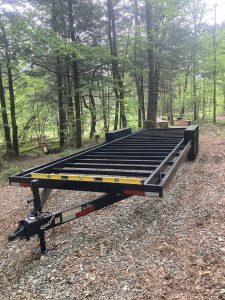
The tinyhouse trailer level on its spot!
So I started to search the internet for trailers that would fit a tiny house and decided on a 26 x 8.6 ft. double axle trailer. At the time there were 2 main specific tiny house trailer suppliers, Tiny House Basics and Iron Eagle Trailers who offered square fenders. The square fenders in my opinion are a must-have when designing your tiny house, it just makes things so much easier it’s definitely worth the extra 300 bucks.
After getting quotes from both suppliers I decided to go with Tiny House Basics just because shipping to Vermont was the cheapest with them as they were located quite a bit closer. The order process went smooth and they were very helpful in arranging the delivery too.
I was able to make some customizations to the trailer as well. For example, I asked them not to put the cross-members flush with the top frame. Although they market this as a nice feature, which it is when you live in warmer climates, I needed that space to add more insulation to my floor (more on this later).
The Design
Once I had the trailer figured out I knew the exact dimensions of our foundation so I could start designing!
Looking for good design software I ended up finding lots of great tutorials on Sketchup so I started learning Sketchup while designing the tiny house and I’m so happy I did! Sketchup helped me so much even during the actual build. Just cutting pieces of wood at the exact right angles and things like that is just so easy when you can just zoom in on your computer, measure it and just replicate it on the actual lumber.
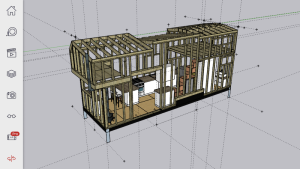
The final framing design in Sketchup
Sketchup is really straight forward and if you have a few computer skills you get the hang of it really fast. It’s also really helpful to calculate the amount of material you’ll need. I was able to just count up all the pieces of lumber for my framing, make an order at the sawmill and I ended up with the exact amount of wood I needed, I was really surprised that worked out as well as it did!
Insulation
I did read a lot of articles on building tiny houses and most of them were in much warmer climates. Here in Stowe VT, our winters get really cold! -20F (-29C) days are no exception here so I really had to keep that in mind while designing.
Just like the extra 3″ of insulation I gained by customizing the trailer I had to really think about every possible inch to get as much insulation in as possible. The thing I was most concerned about was the water lines in the wall. Ideally, I would have liked to frame 2×6 walls but with the limited space on the trailer, I would lose too much space inside so I really had to go with 2×4 walls. That would only give me a maximum of 3 inches between the waterline and the outside so those pipes would definitely freeze on a cold day!

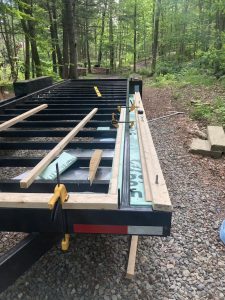
Double framed walls for the waterlines.
I ended up designing it so that all my water supplies were collected as close together as possible. That way I only had to run water lines in the back part of the tiny house where the bathroom is and I double framed all walls where I would need to add water pipes. That gives me 2×8 walls and a minimum of 6 inches of insulation between the waterlines and the outside. I felt good about that knowing that I would wrap all waterlines in some additional insulation as well.
I used Rockwool to insulate all the walls and roofs. I framed 2×4 walls with studs spaced 16-inches on-center. Roofs are framed 2×6 rafters spaced 16-inches on center. The Rockwool batts are easy to work with and fit just perfectly in between the studs. Although they claim it’s not itchy I do recommend wearing long sleeves and covering all skin cause I do think it’s pretty annoying when too much of that stuff touches your skin.
Start Building
I started off by adding flashing to the bottom of the trailer. When ordering the trailer you can add the option to close the bottom of the trailer but I figured price-wise it was worth just doing this myself and saving like $300. Adding the flashing is rather annoying, you have to crawl under the trailer, drill holes, hold up the long rolls of flashing while trying to fasten it with the revets, …
Once the flashing was up I could start insulating the floor. I thought about the timing for this for a long time. As I was working outside, the only way to cover up the trailer for the weather was by using a big tarp. I didn’t want the insulation to get wet so I wasn’t sure if I would start with insulating the floor or framing the walls and getting the roof up.
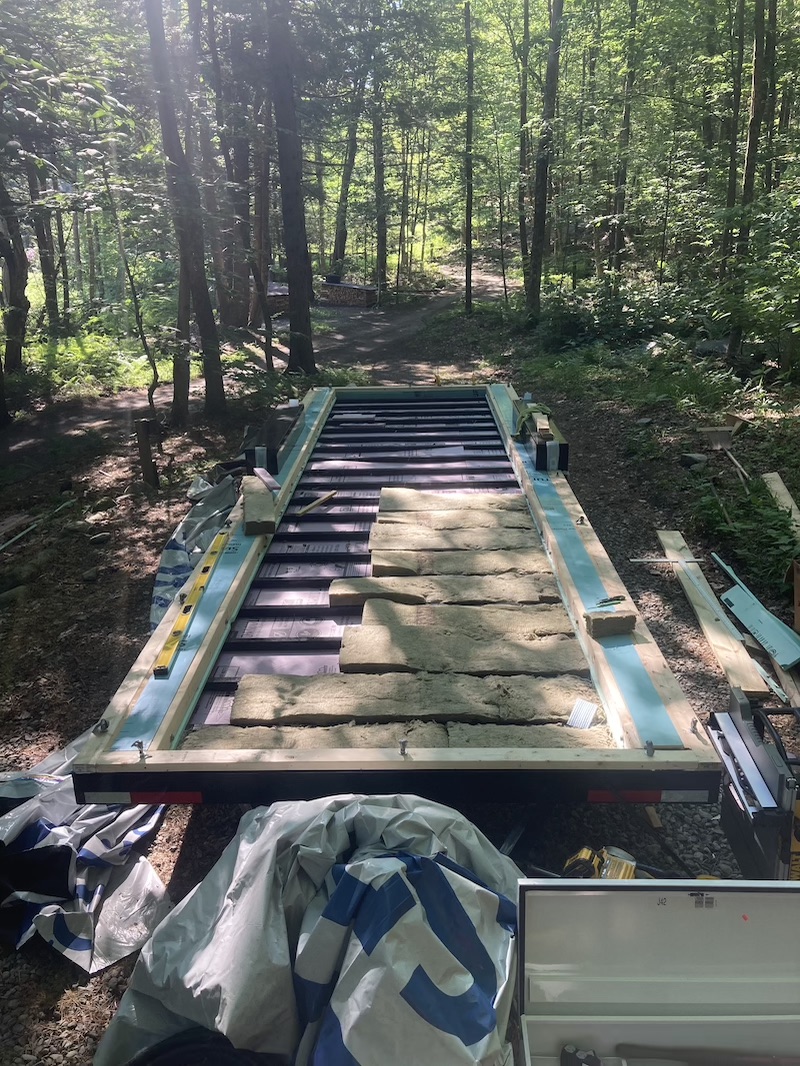
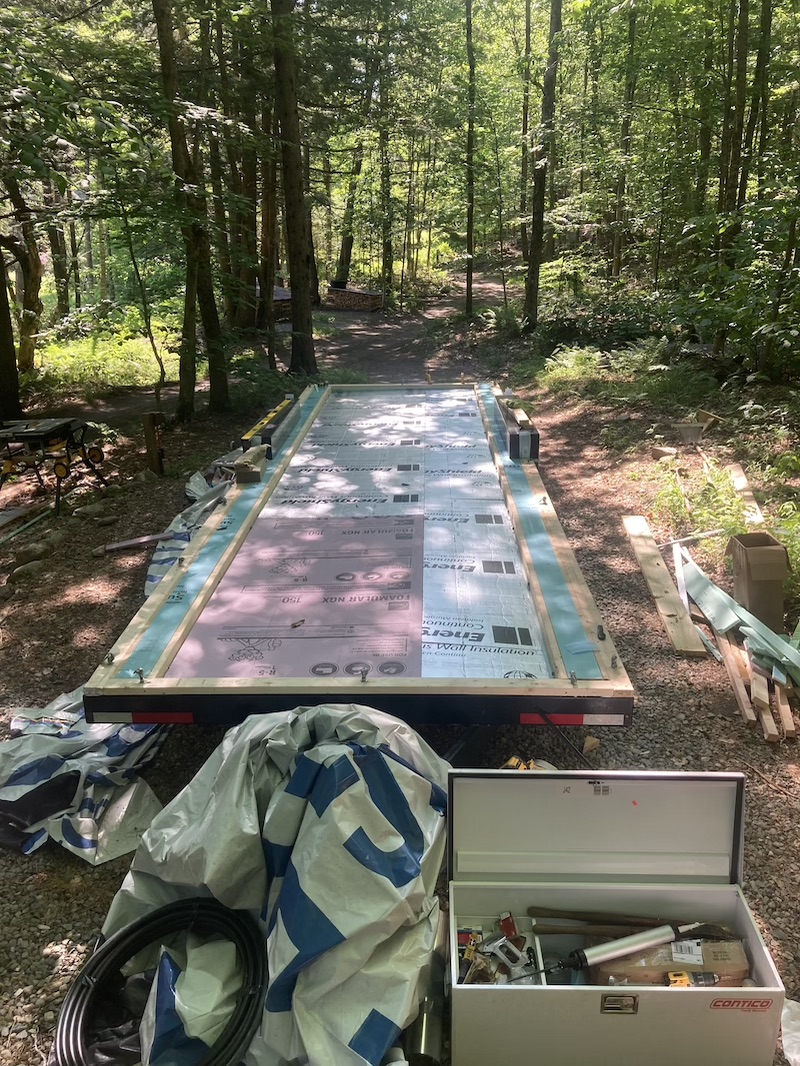
I ended up starting with insulating the floor because it was just easier to insert all the layers while the walls were not up yet and the weather forecast was looking great.
 I started by adding 1″ foam board insulation between the cross-members (R-5). On top of that a layer of 2×4 Rockwool (R-15) and to cover up the cross-members another layer of 1″ foam board insulation (R-5). Then I framed the actual floor with 2x4s and filled it up with another layer of 2×4 Rockwool (R-15).
So the total R-value of the floor gets up to R-40 (not really, cause I have the metal cross-members of the trailer in between but I figured it would be good enough).
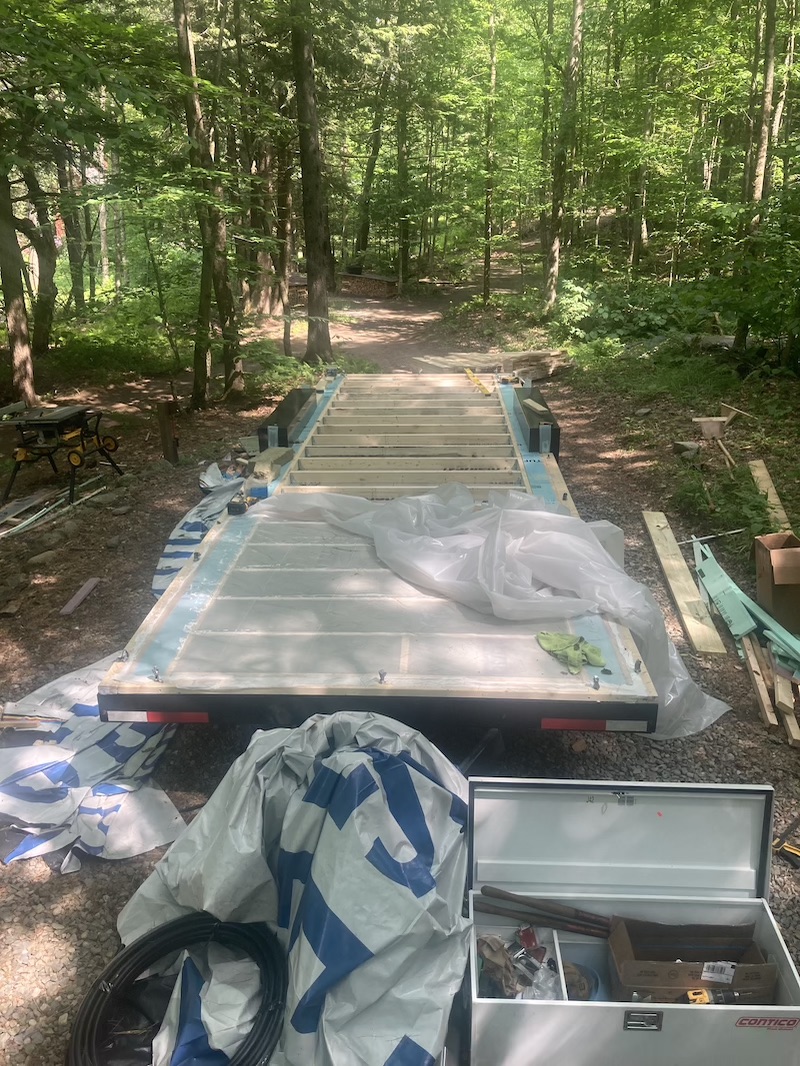
Then I closed the floor with 23/32 Georgia Pacific Dryguard plywood sheets.
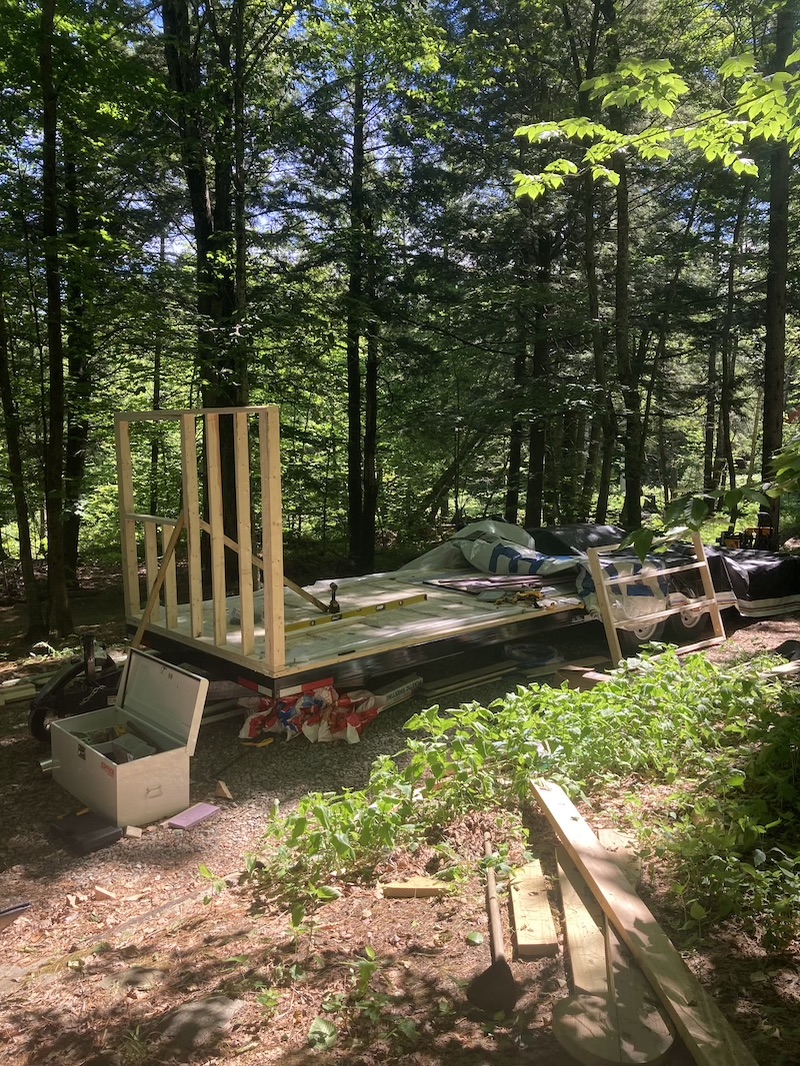
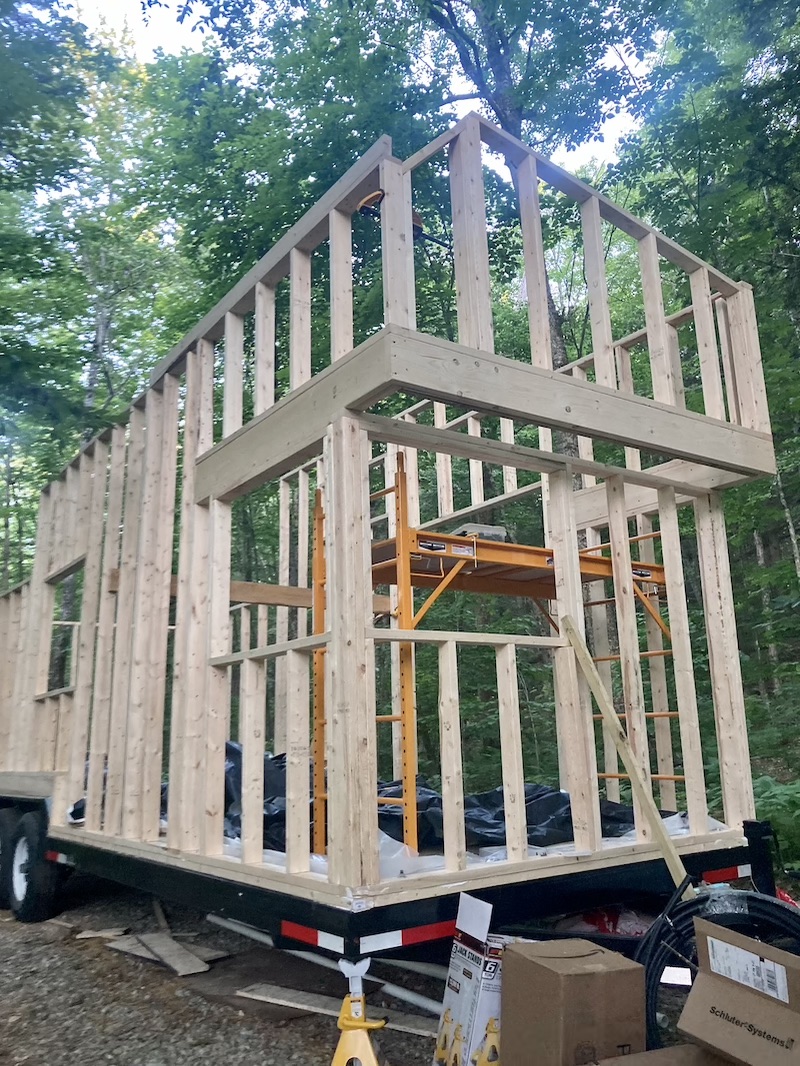
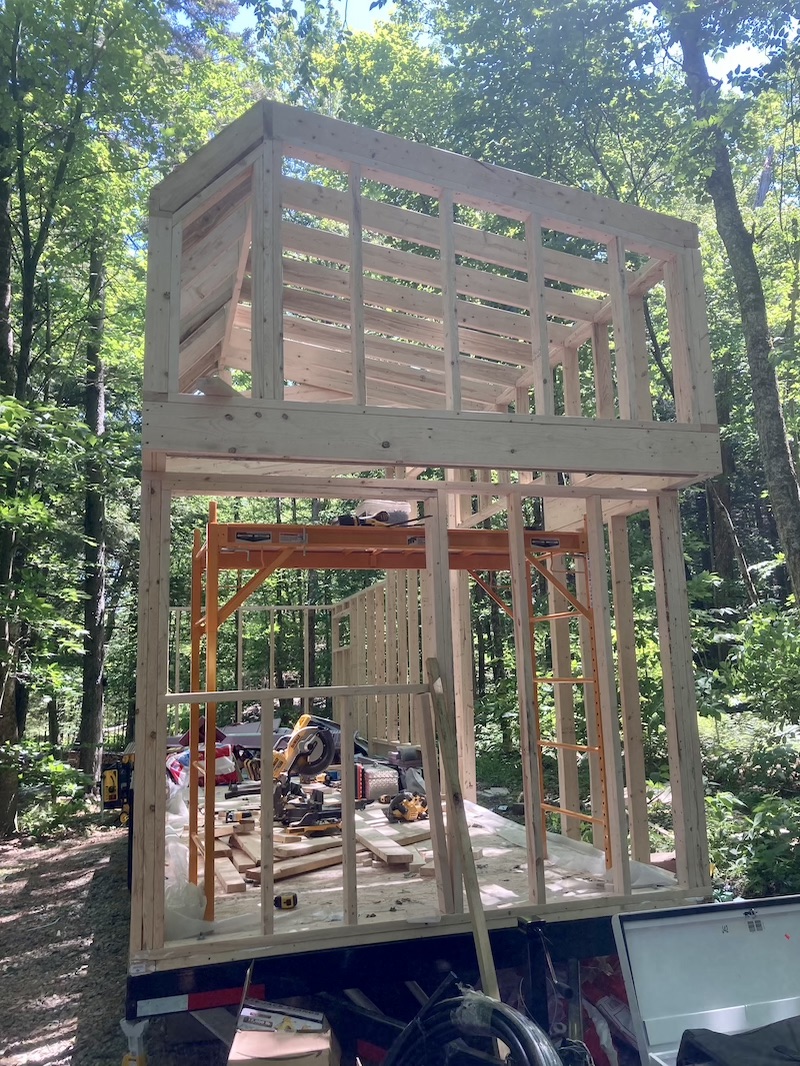
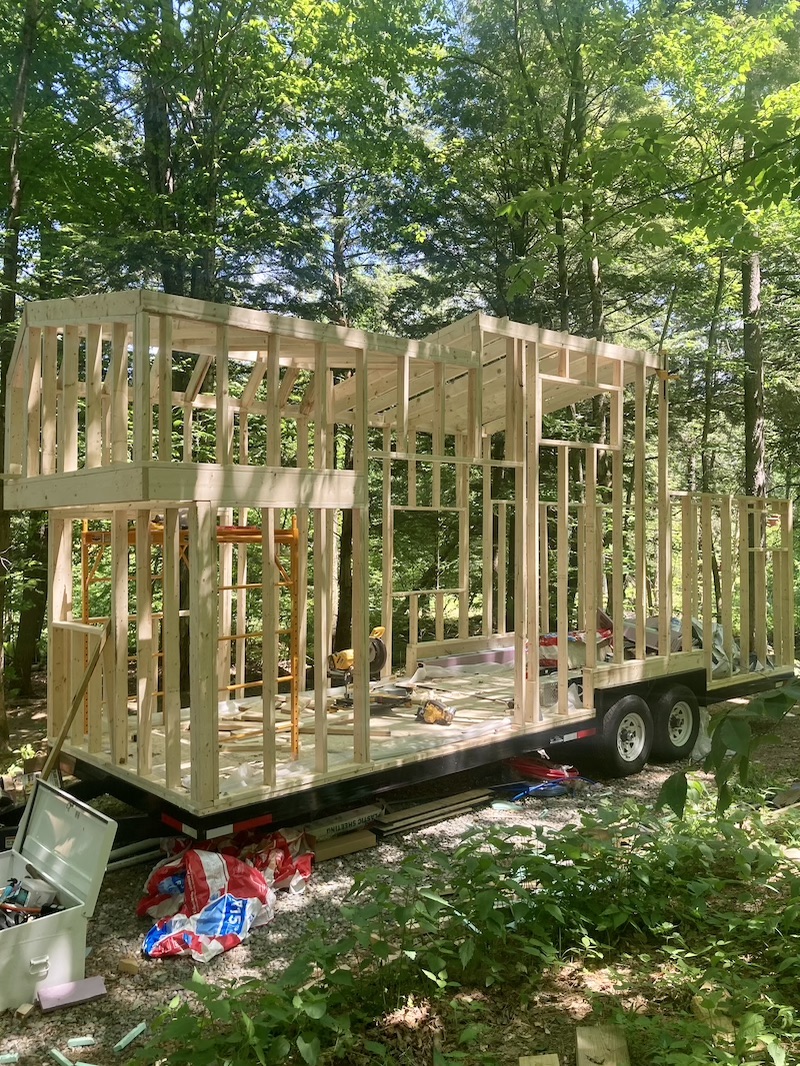
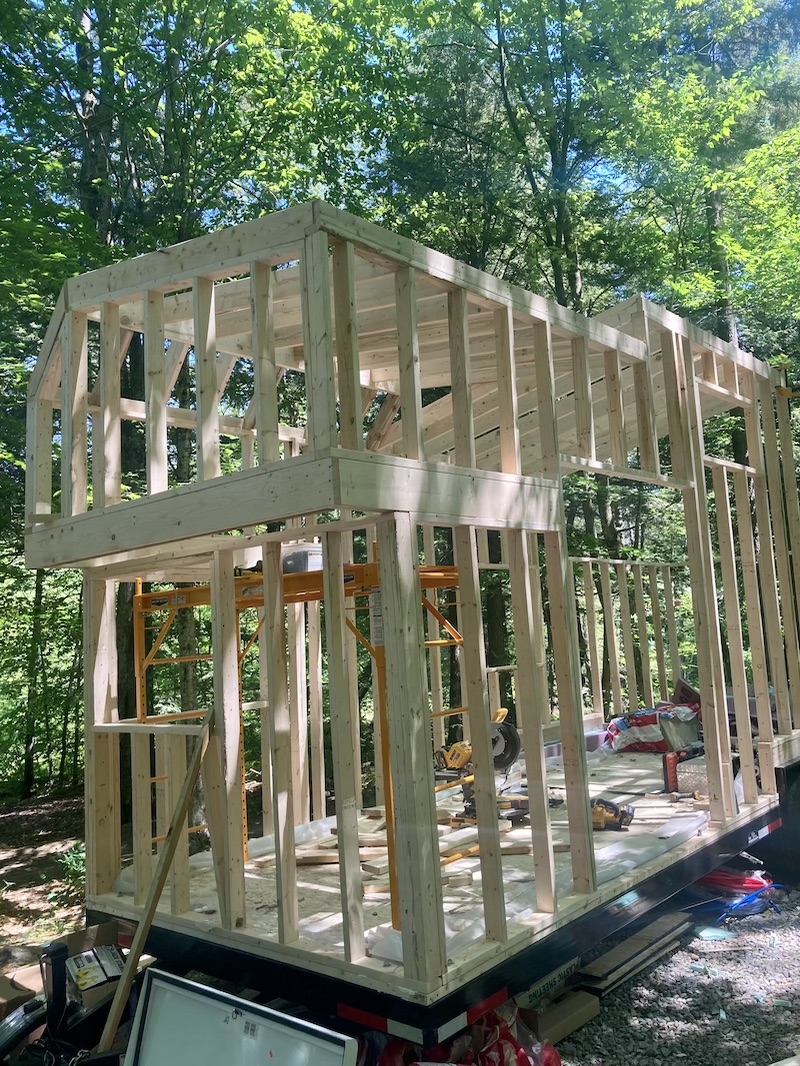
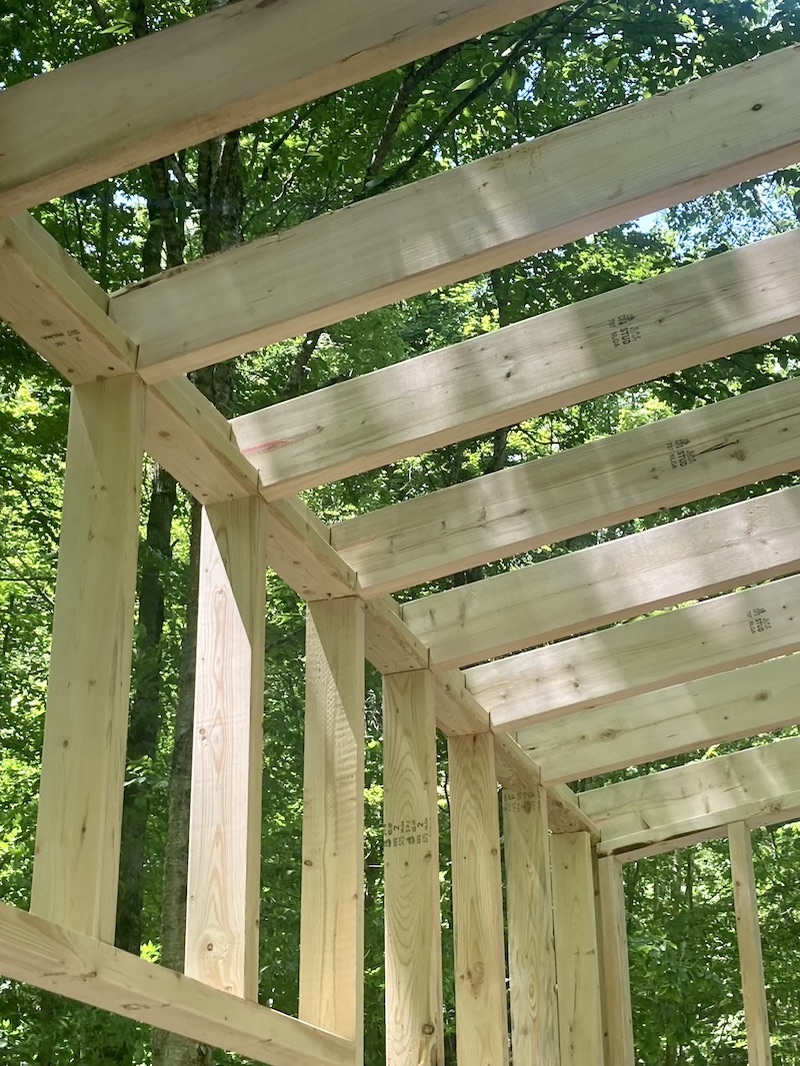
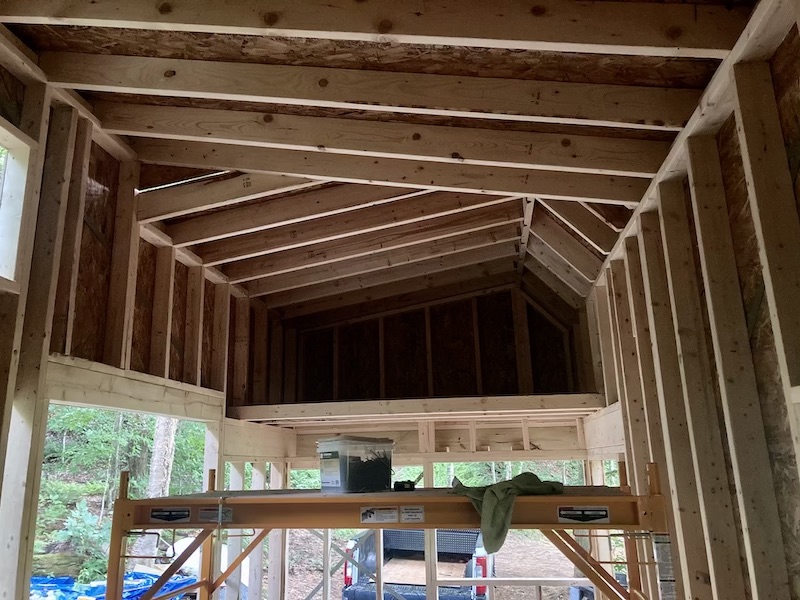
Framing
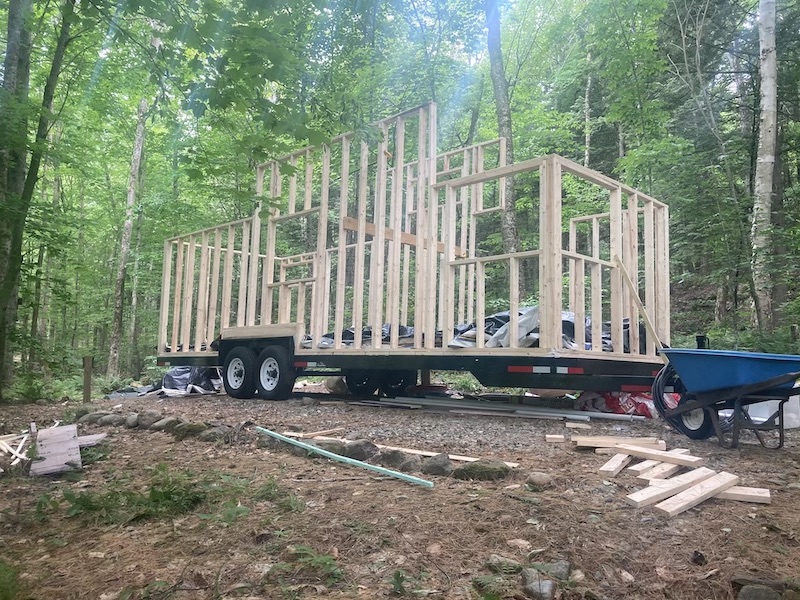
Framing must be one of the most satisfying things of the build. It goes so fast and you see so much progress! When ordering the trailer I added the option to add 1/2″ threaded rods welded to the trailer to attach the framing to the trailer with bolts. It was an additional $300 and looking back at it I would say not really worth it.
The rods they added were not long enough to fit my subfloor and the framing so I couldn’t really use them and on the places where I could, I figured 1/2″ was just a little small. So I ended up drilling my own holes true the trailer and went with bigger 3/4″ rods and bolts to securely attach the framing to the trailer.
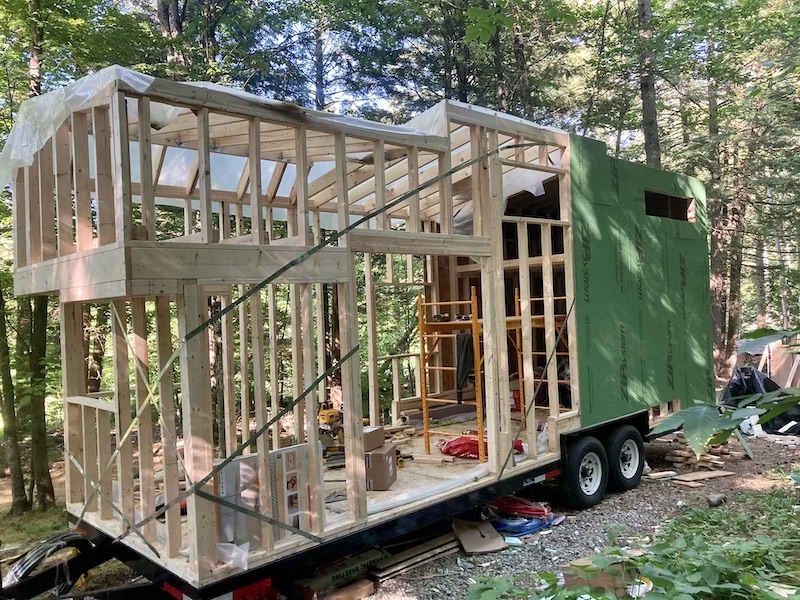
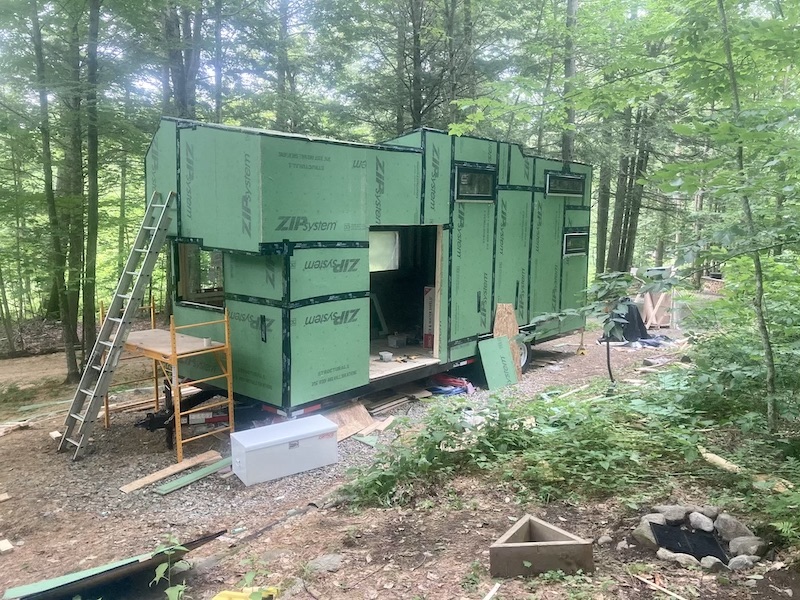
I used the ZIP System sheets to close the walls, It’s really nice and easy to work with and it’s just great you don’t have to worry about anything else after that to make everything waterproof.
Another thing I really liked about it is that you do not have to keep a vapor barrier between the sheathing and the siding which saved me 1/2″ on both sides so 1 inch of extra width inside!
Once the ZIP sheets were up it really felt nice to know I was no longer dependent on the weather to work. I could just store all my tools inside and even on a bad rainy day, I could keep working.

To finish up the outside and give the tiny house a nice natural look I added 1″ rough hemlock for the siding. I treated it with a transparent product just to make it it bit water repellent but other than that just rough wood.
On the roof, I added another layer of Grace self-adhering ice and water shield, and on top of that, I will add some black metal roofing.
The windows are all triple glass with extra foam insulation in the frames.

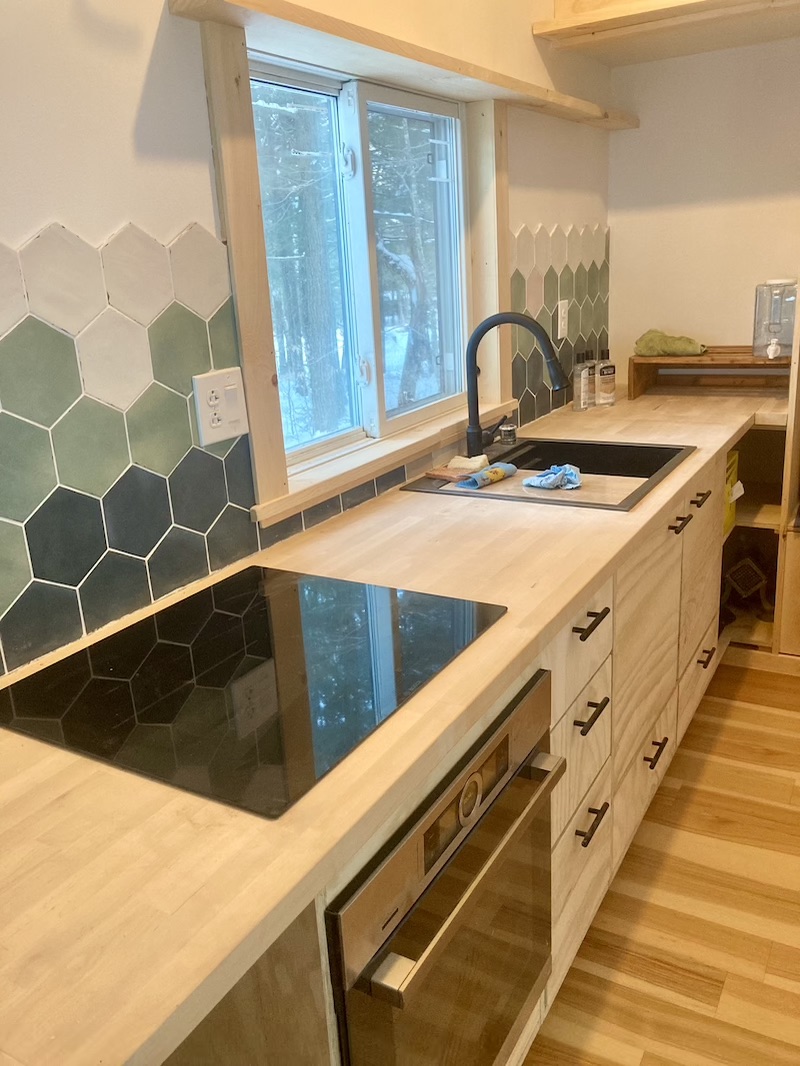
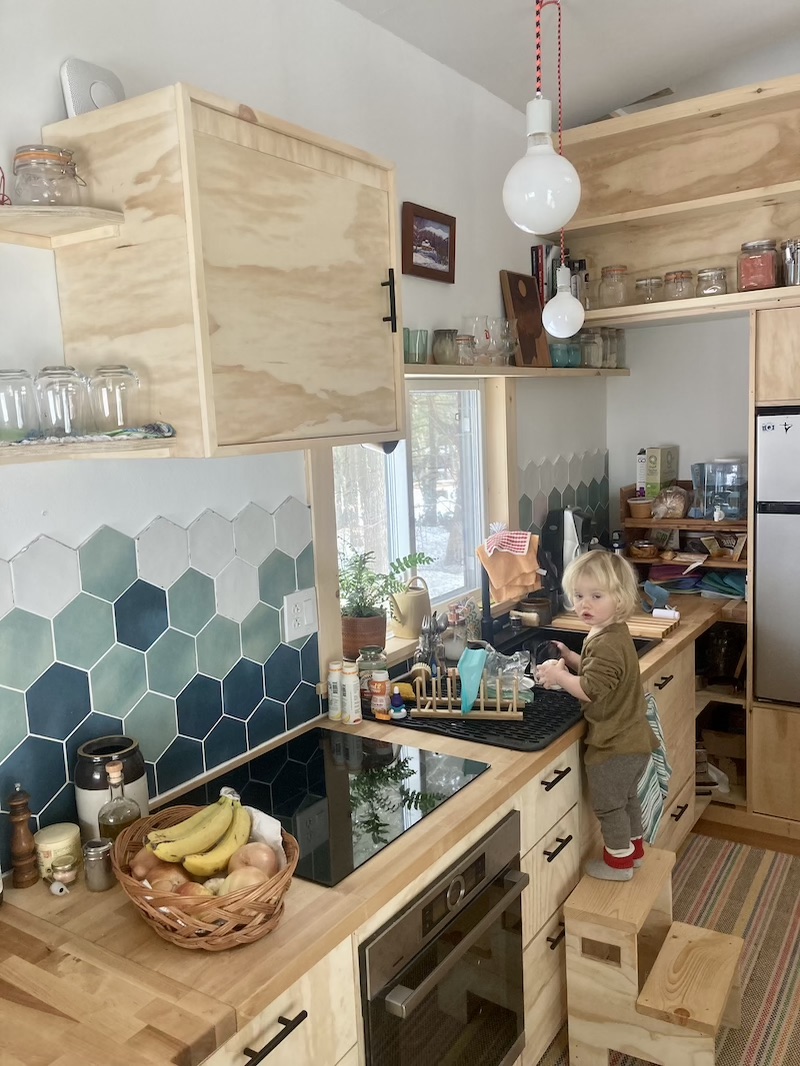
Finishing Touch
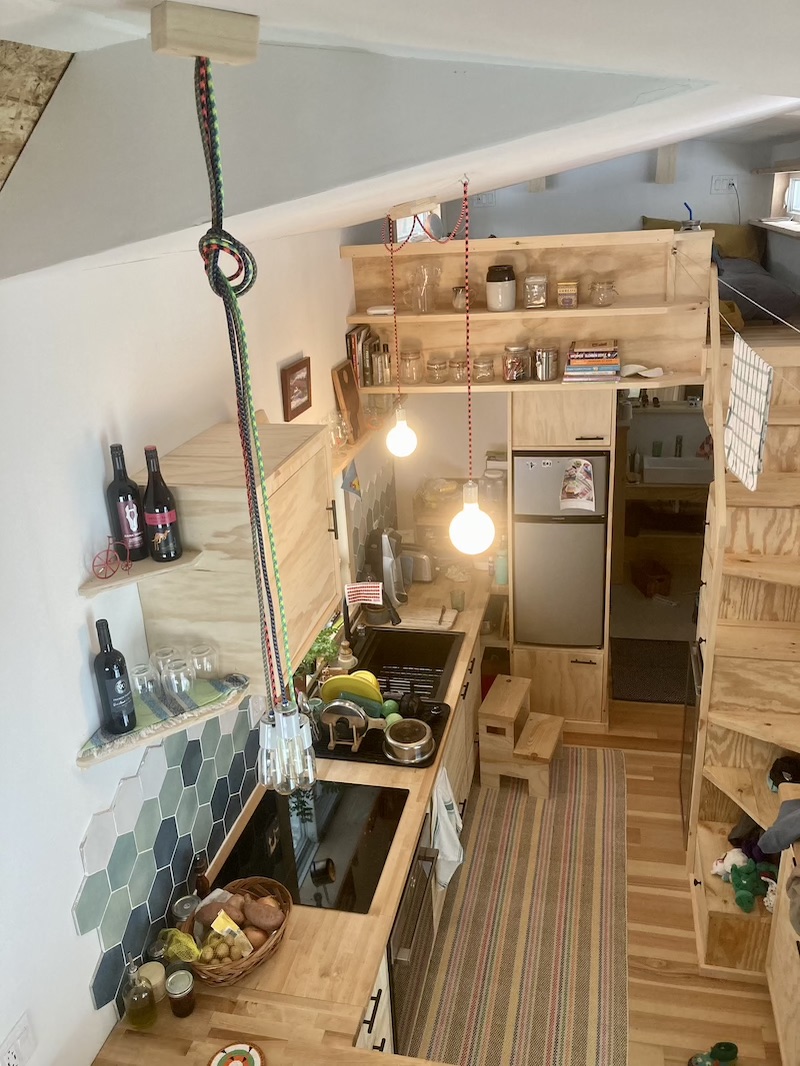
For the inside, we went for a modern Swedish look with white walls mixed with wooden accents. A custom-built wooden kitchen and a walk-in shower. We are using the most basic version of a composting toilet.
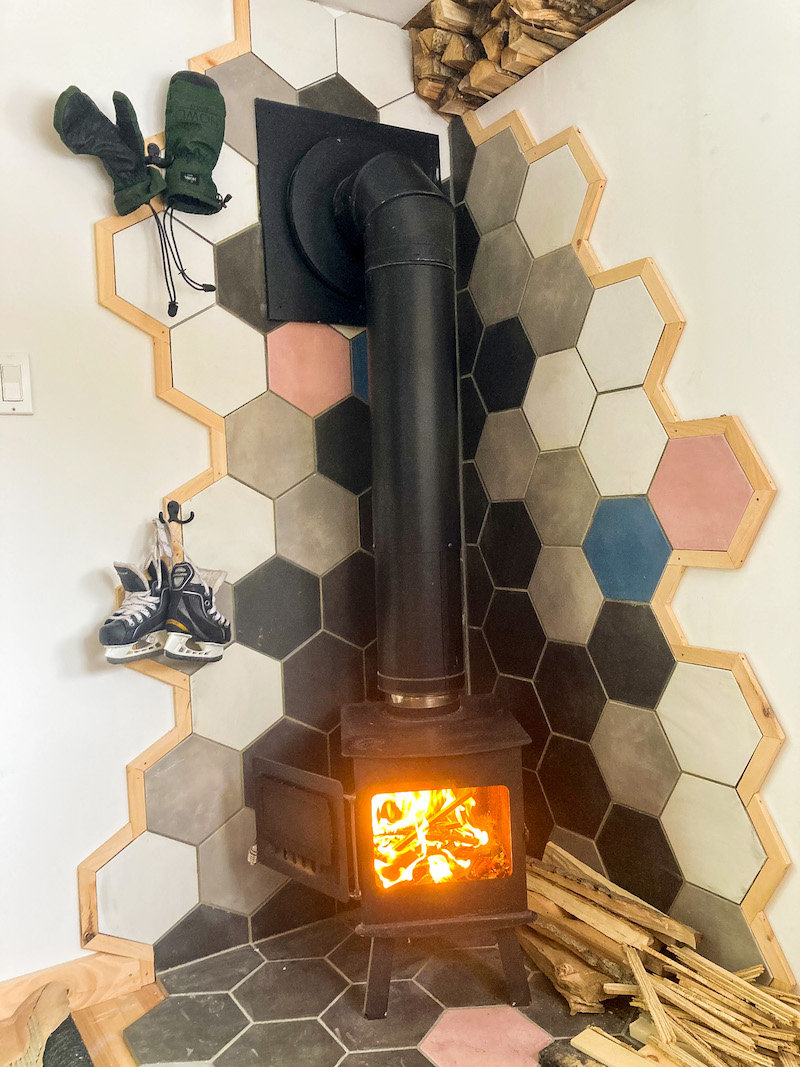
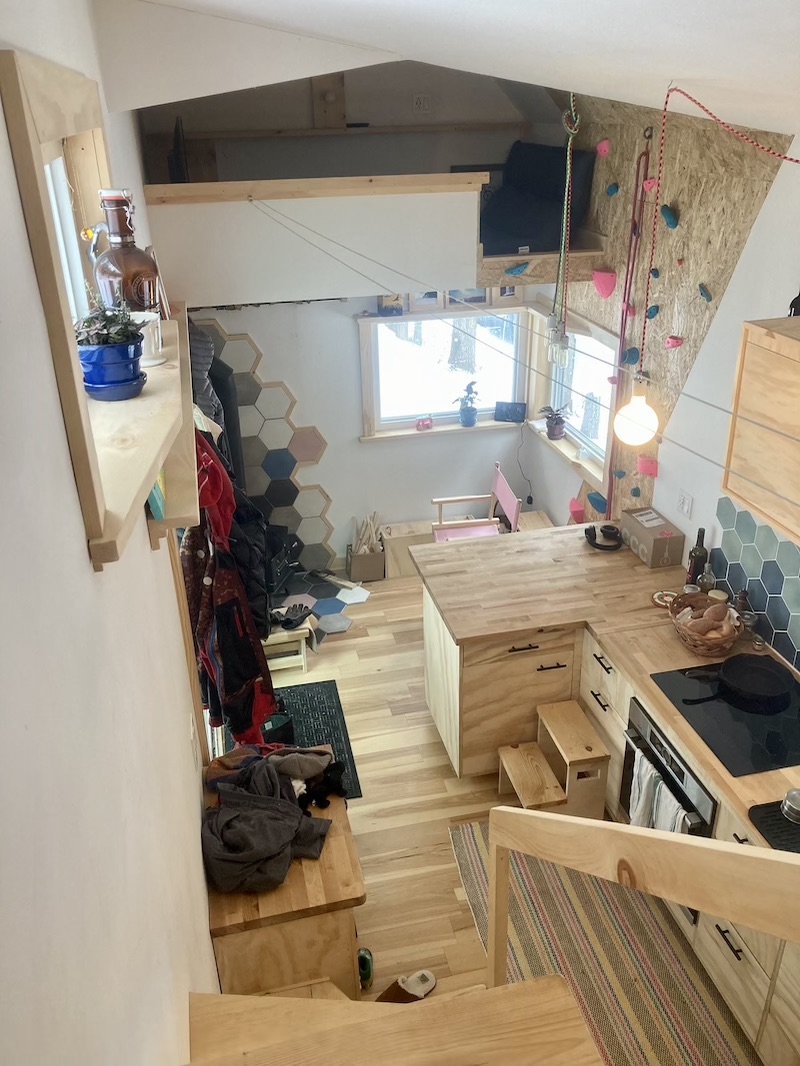

After living in our tiny house during the winter for about 6 months now we are very happy with the result and everything is working as expected. The water pipes did not freeze! and it’s easy to heat our tiny house with the woodstove and the additional electric heater.
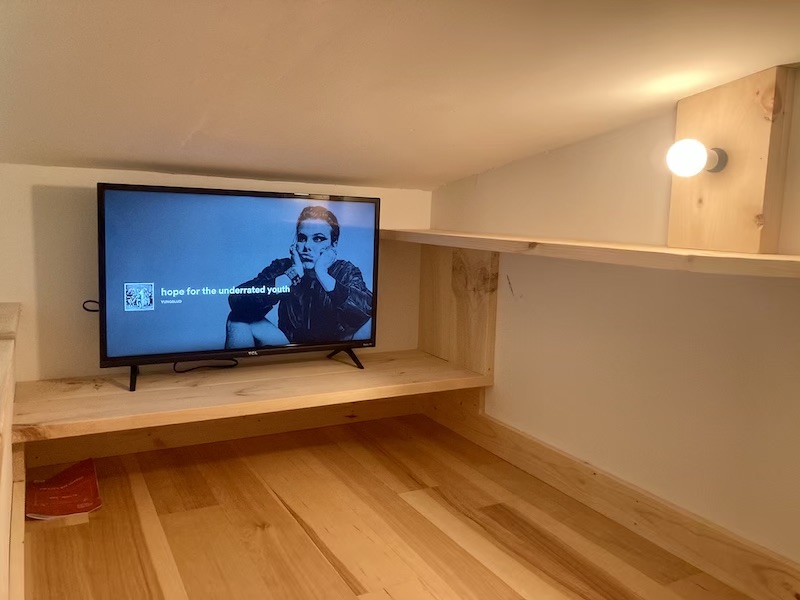
What I like the most about it is the fact that you basically live outside. We have this big glass sliding door as our entryway so there is always lots of light inside and you just sit right next to the outdoors. We look straight into the forest and you really feel the weather even though you are sitting nice and coisy inside!
If you have any questions about tiny house living, design, construction, or the cold climate please contact us and we’ll be happy to get in touch.
